There are three ways to start playing Minecraft: an Android phone, a Windows computer, and your own server. Each has its own first steps: where to buy the game, how to create a world, what to craft in the first hour, and when it’s time to raise a server. We go through all three scenarios in order.
Three starts: pick yours
If you play alone or with friends over the internet — a phone is enough. If you want mods, big modpacks and video recording — take a computer. If you want your own world with rules, a whitelist and subscribers — raise a server. Step by step, starting with the simplest.
Minecraft on an Android phone
Installing the game from Google Play
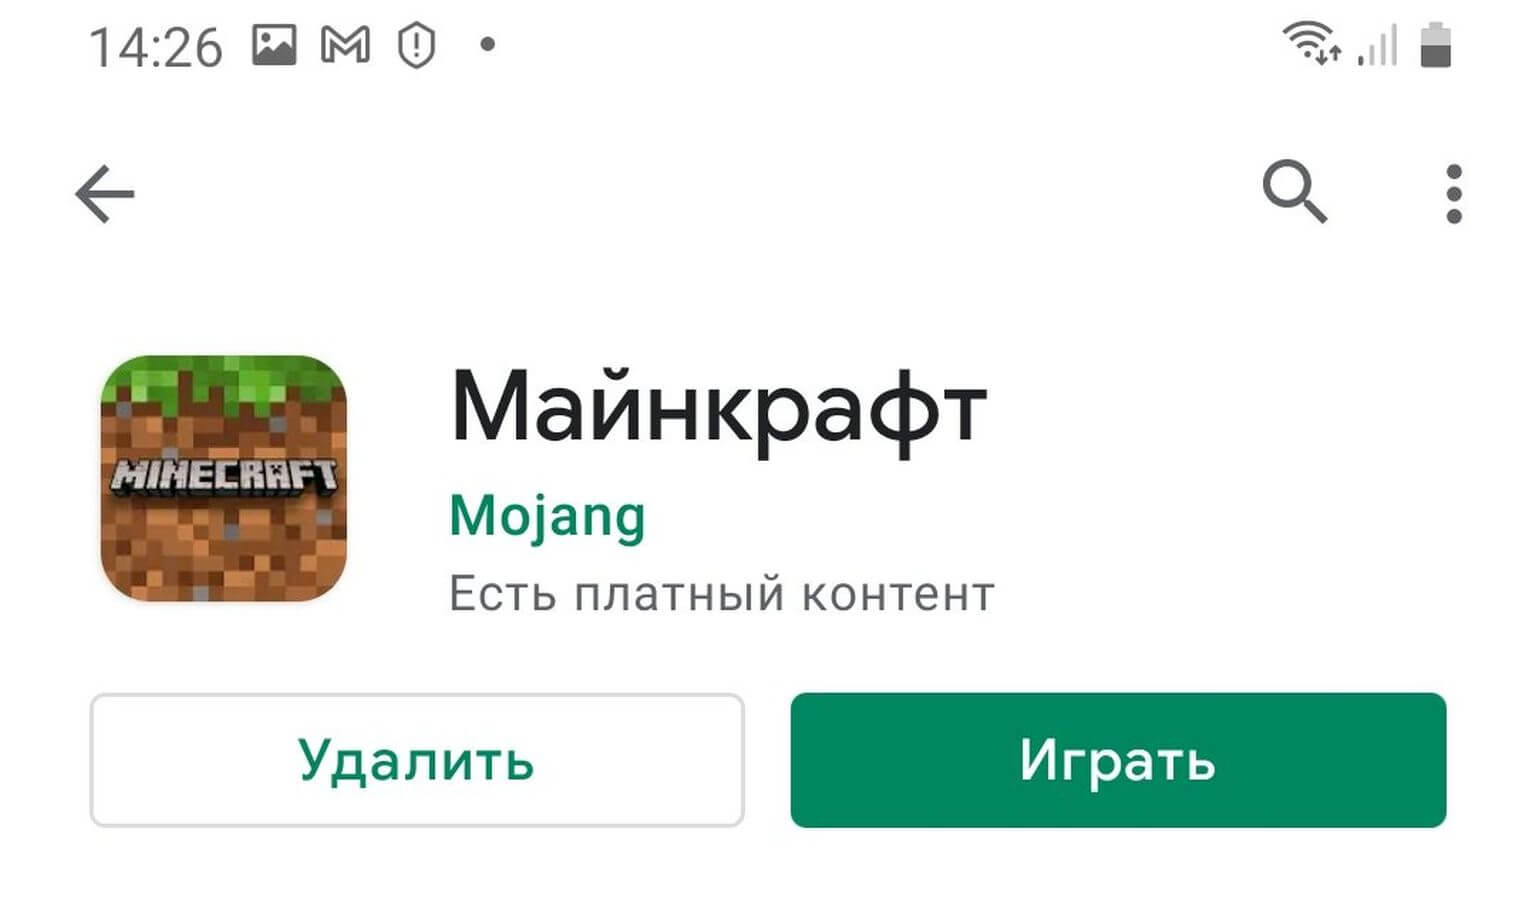
Open Google Play, type the game’s name into search and install the app like a regular program. The mobile version is paid — you buy it in the store; there are no free full builds there. Then the game will ask you to sign in to an account: without it your worlds don’t sync and playing with friends online doesn’t work.
Before buying, check two things: free storage space on the phone and your device’s support level. The game is demanding on RAM: on a weak phone, large worlds stutter.
Creating a world and choosing the difficulty
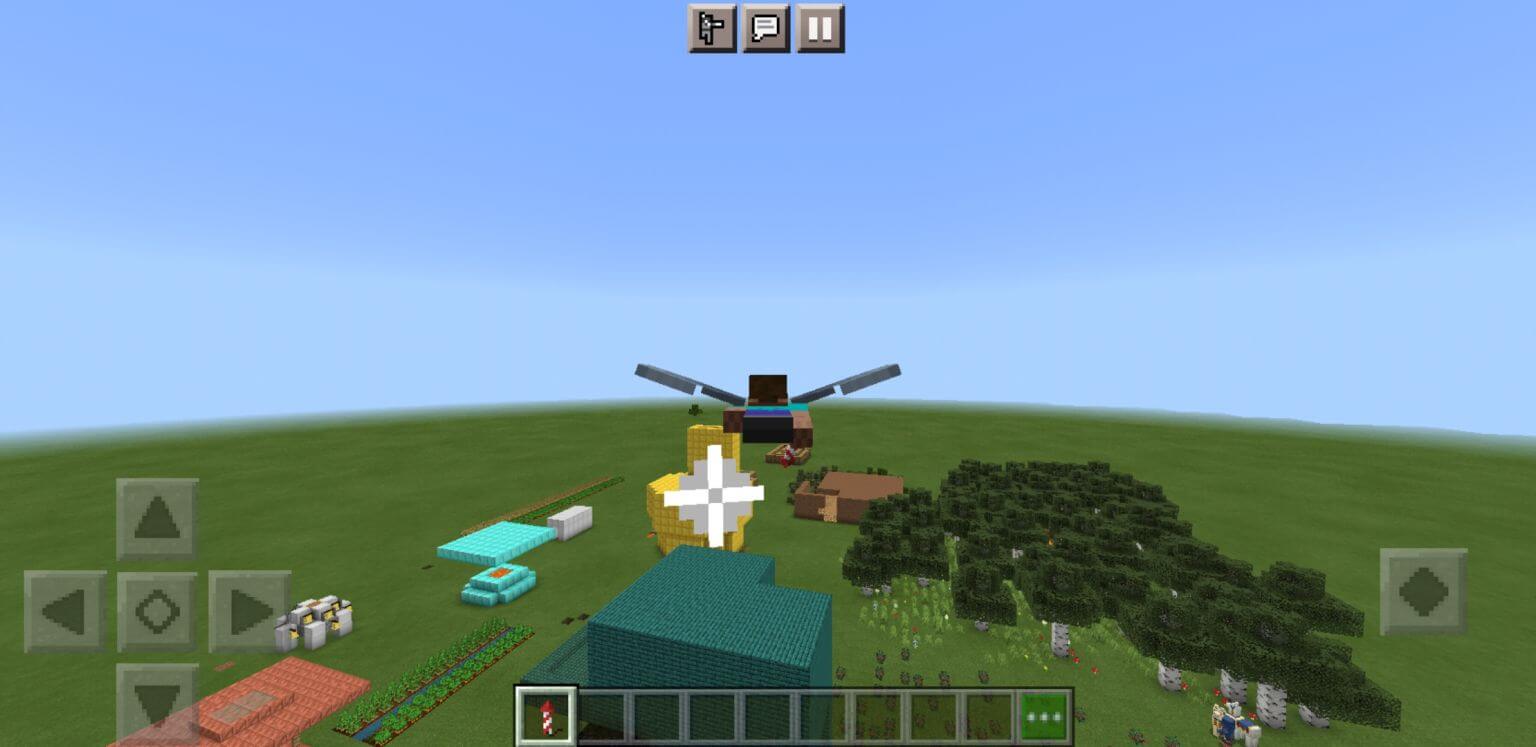
In the game, tap “Play” and create a new world. Then you choose the mode and the difficulty.
- Creative mode — you’re immortal, you fly, all blocks are available. Great for learning and building.
- Survival, “Peaceful” — no monsters spawn, hunger isn’t spent. An option for kids and calm building.
- Survival, “Easy” — monsters spawn, hunger drains, but they deal little damage.
- Survival, “Normal” and “Hard” — more mobs, hunger drains faster, the damage is noticeable.
Hunger is cured with food: steak, chicken, bread. To make food you have to craft it, and for that you need resources — meat, grain, wood.
Resources, a crafting table, a chest and a house

Resources are gathered by breaking blocks. Break a tree — you get wood. Wood crafts into planks, planks into a crafting table and sticks. The crafting table is essential: everything else is made on it. A chest keeps you from losing items: your inventory drops on death. A house is a chest, a crafting table, a furnace and a bed in a safe spot.
Among tools, the first you need are a sword, a pickaxe, an axe and a hoe. The pickaxe mines stone, coal, iron and diamonds, the axe chops wood faster, the hoe is for garden beds. To craft a stone pickaxe, mine three stone.
The first hour: what to do, in order
- Chop wood and make planks, a crafting table and sticks.
- Craft a wooden pickaxe and mine stone: three stone for a stone pickaxe, the rest for a chest and a furnace.
- Make a sword and an axe — by the evening of day one you should have a full set of stone tools.
- Dig or build a shelter with a door, place a bed and a chest.
- Gather food and keep the hunger bar full — while starving, the character doesn’t regenerate health.
All of this is also in video form — in my episode about starting the game:
Minecraft on a Windows computer
The computer version is the senior one: it takes mods and big modpacks, holds more players and is more convenient for recording. The order is:
- Install the launcher and sign in to your account — your worlds and progress are tied to it.
- Check that the right Java is installed for the game version you need: different generations of the game need different builds.
- In the launcher, pick the version and start the game; for mods, the version must match the modpack’s version.
- Create a world, set the difficulty and the render distance — it determines the load on your machine.
- Allocate memory to the game in the launcher settings: a couple of gigabytes is enough for vanilla, a modpack with hundreds of mods needs several times more.
How not to get the memory wrong — in a separate calculation, how much RAM a server with 200 mods needs. It also covers the reserve for Java itself, which beginners forget and get crashes.
Your own server on a local computer
If you want a world where your subscribers can join — you need a server. A home computer works for a trial: it helps you understand the load and get used to administering, but it gives no stable outside access and doesn’t work without you.
Where to run the server
The best environment for a server is Linux, for example Debian or Ubuntu: less background clutter, easier auto-start and updates. If your main system is Windows, there are three working paths:
- WSL and WSL2 — Linux tools built into Windows. The fastest way to get a familiar Debian without rebooting.
- Hyper-V — a separate virtual machine on the same computer; convenient for testing versions and isolating experiments.
- VMware Workstation — third-party virtualization: inside it you install Debian and run the server on it.
What to do on the server
- Install Java and download the core file — the server starts with a launch command and dedicated memory.
- Accept the server’s terms of use: without a confirmed eula file, the world won’t start.
- Set the memory size at launch, leaving a reserve for the system — covered in detail in the RAM calculation linked above.
- Set up a whitelist and permissions before you publish the address: closing a hole later costs more.
- Open a router port or use ready-made hosting — otherwise your friends can’t connect.
- Back up the world and check that the backup actually restores.
A local server is a test stage. As soon as more than five people join the world or you start recording videos, it makes sense to move to hosting: a comparison of types and prices is in the review of Minecraft hosters of 2026, prices in Russia — in the breakdown of what a server costs.
Four beginner mistakes
- Going into survival on “Hard” on day one. A night without shelter and food is a guaranteed loss of items and motivation.
- Not making a chest. Your inventory drops on death, and in a world without storage you lose hours of work.
- Installing all mods at once. A conflict between two modpacks takes hours to find; add them one at a time and check the launch.
- Publishing the server address without protection plugins. The minimal protection kit is covered in the article about server protection plugins.
Where to go next
If you need the basics — what this game is and why it’s still at the top — start with the overview Minecraft: what it is and how to play it. Then pick a direction: cores and mods, your own server, or a channel. I have a separate page for the channel — my YouTube, and hands-on experience of a living world — in the entry about the anarchy server.
Start with creative mode for half an hour: learn the camera, the interface and crafting without the risk of dying. Then create a survival world on “Easy” with render distance below medium — on full distance, phones and weak laptops lag. And don’t change world rules on the fly: switching the mode disables achievements in that save.
For a trial, two gigabytes of memory for the core and another one or two gigabytes of reserve for the system is enough. You can keep the default port, but turn on the password and the whitelist right away. Update the core and mods one at a time, with a backup before each update — that saves you more often than any optimization.