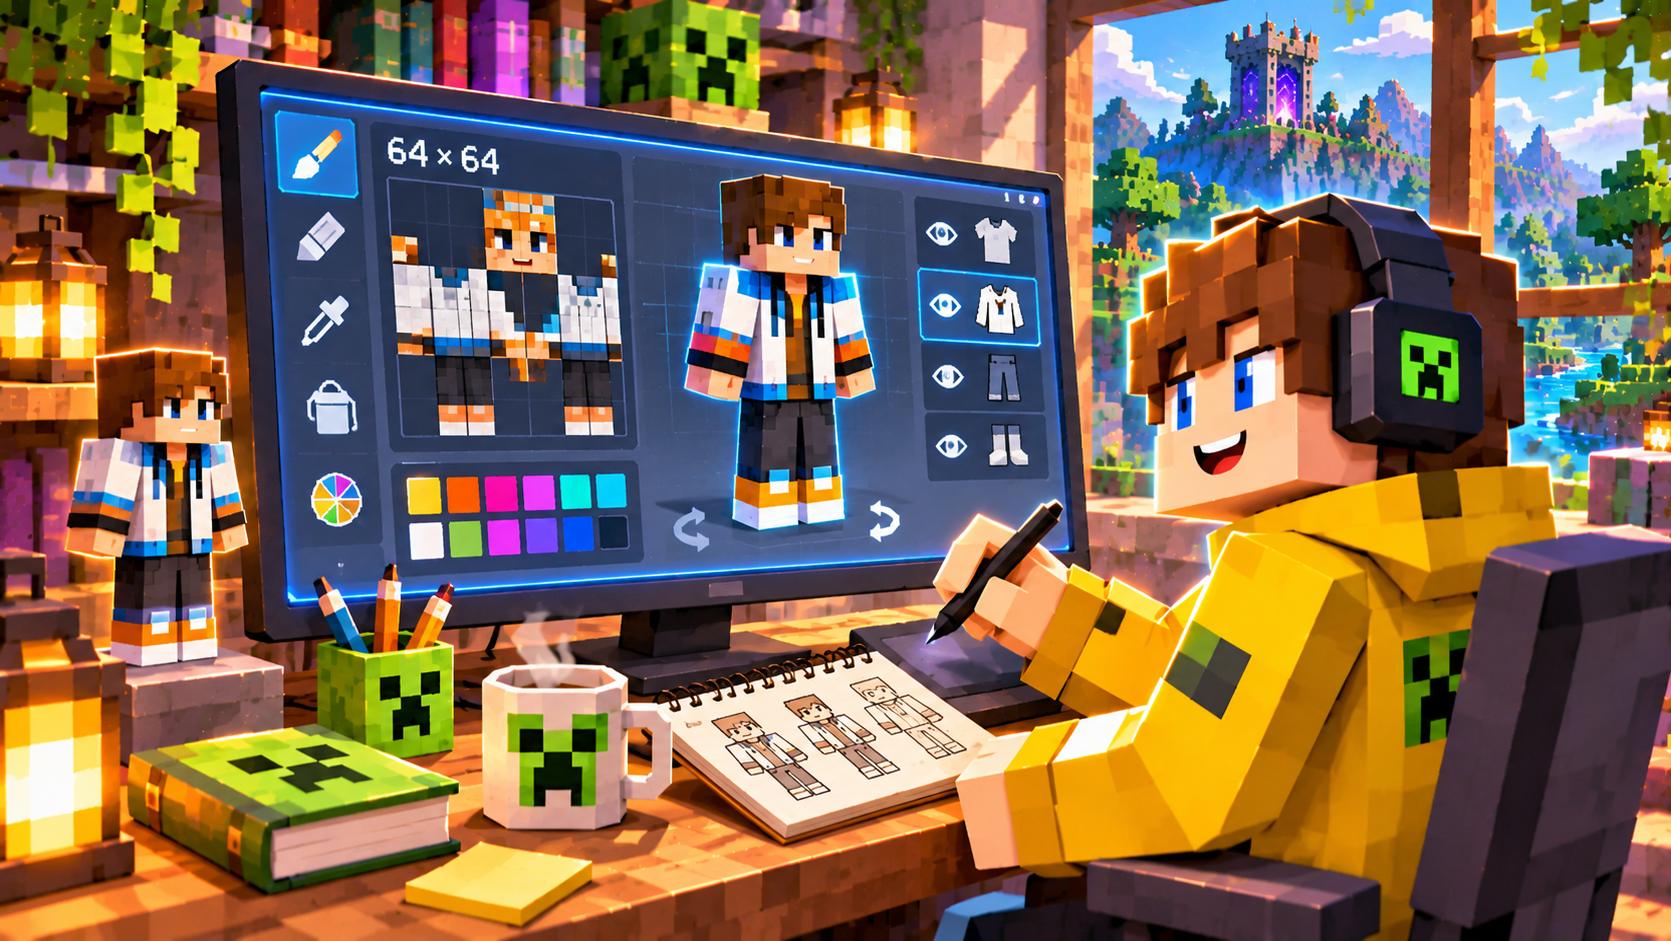
Standard Steve is like a gray backpack at school: it’s fine, but getting lost in the crowd is easy. Your own skin fixes that once and for all: the face everyone sees on the server — you make it yourself. Right now it’s as convenient as ever: there’s a free editor that opens right in the browser, needs no account and puts no watermarks. Here’s the whole path — from a blank canvas to a finished file that’s already wearable in game.
Where to start: the template and the arm model
At the beginning the editor will offer to pick a source: a blank canvas, one of the nine standard templates like Steve, Alex, Ari or Efe, a ready PNG from your computer, or another player’s skin by nickname. The last one is handy when you don’t want to draw from scratch but redo someone else’s idea for yourself.
The most important decision is made before the first line: the arm model. The classic model (Classic) draws an arm four pixels wide, the slim one (Slim) — three. Pick the wrong one — the pixels land off the columns and you’ll have to redraw. Not sure which one you have in game — look in the launcher settings: it’s usually written right there.
Drawing on the model: layers and tools
A skin has two layers. Base is the body itself: its pixels are always opaque. Overlay is the top shell: hair, hoods, collars, sleeves over the main arm. You switch layers with the L key. You can draw directly on the 3D model, on the “doll” or on the flat unwrap — all edits land in the same layer, so you won’t get confused.
There are twelve tools: brush, eraser, fill, darken, tone, color picker, clone, line, rectangle, gradient, magic wand and lasso. Hotkeys save a ton of time: right mouse button does the reverse action, the middle one rotates the model, the wheel zooms, Alt plus click picks a color off the model, the M key toggles mirroring — the second sleeve and pant leg draw themselves. Bracket keys change the brush size, and Ctrl+Z rewinds up to sixty steps. A nice touch: a stroke doesn’t spill past the edge of a part, so the seam between a sleeve and the torso won’t smear.
Shading: how to make a skin look alive
Flat color looks cheap, so the main skill is shading. The formula is simple: one base color per material and two or three brightness steps next to it. Light falls from above, which means it’s darker under the chin and hair, lighter on shoulders and the top of the head. The Tone tool adds light “noise” — that’s how fabric and wool stop looking plastic.
There’s a more serious trick: warm tints in the highlights and cold ones in the shadows — the skin comes alive instantly. And one-pixel details layered onto the top layer look volumetric in game, although they take a second to draw.
Saving and wearing it
The finished skin downloads with the Download Skin button — it’s a PNG file 64 by 64. Regular Java also accepts the old 64-by-32 format, but “HD” skins with higher resolution don’t work in vanilla — don’t fall for the pretty covers. Two rules when saving: leave no transparent pixels on the bottom layer (they’ll turn into black squares in game), and check that you didn’t draw on overlay instead of base — the L key fixes that.
Wearing a skin differs by version. In Java, the file uploads on minecraft.net or right in the launcher — and pick the same arm model you drew for, otherwise the arms will look odd. In Bedrock, skins change in the dressing room — the Dressing Room. The editor autosaves your work in the browser for two weeks and keeps your last eight skins, but downloading the file right away is safer: a browser cleanup can wipe everything.
A skin is the fastest way to make the game yours. Then you can go deeper: reshape the world for yourself with modpacks and modifications — we have a big mods section for that, and basic gameplay tips are collected in the Minecraft section.
- Download the PNG right after you finish: browser autosave isn’t forever.
- In the launcher pick the same arm model you drew: Classic to Classic, Slim to Slim.
- Transparency only on the top layer: holes on the bottom turn into black squares.
- Don’t forget the back, the top of the head and the soles: they’re invisible in the editor but everyone sees them on the server.
- Keep a copy of the file in a separate folder — editor updates sometimes wipe drafts.